Free Shipping on Orders Over $49 & Returns Accepted for 30 Days!!
- Central Vacuum Systems
- Retractable Hose Systems
-
Portable Vacuums
- Upright Vacuums
- Canister Vacuums
- Backpack Vacuums
- Cordless Vacuums
- Specialty Vacuums
- Mechanical Vacuums
-
Portable Vacuum Repair Parts
- Dirt Devil Parts & Accessories
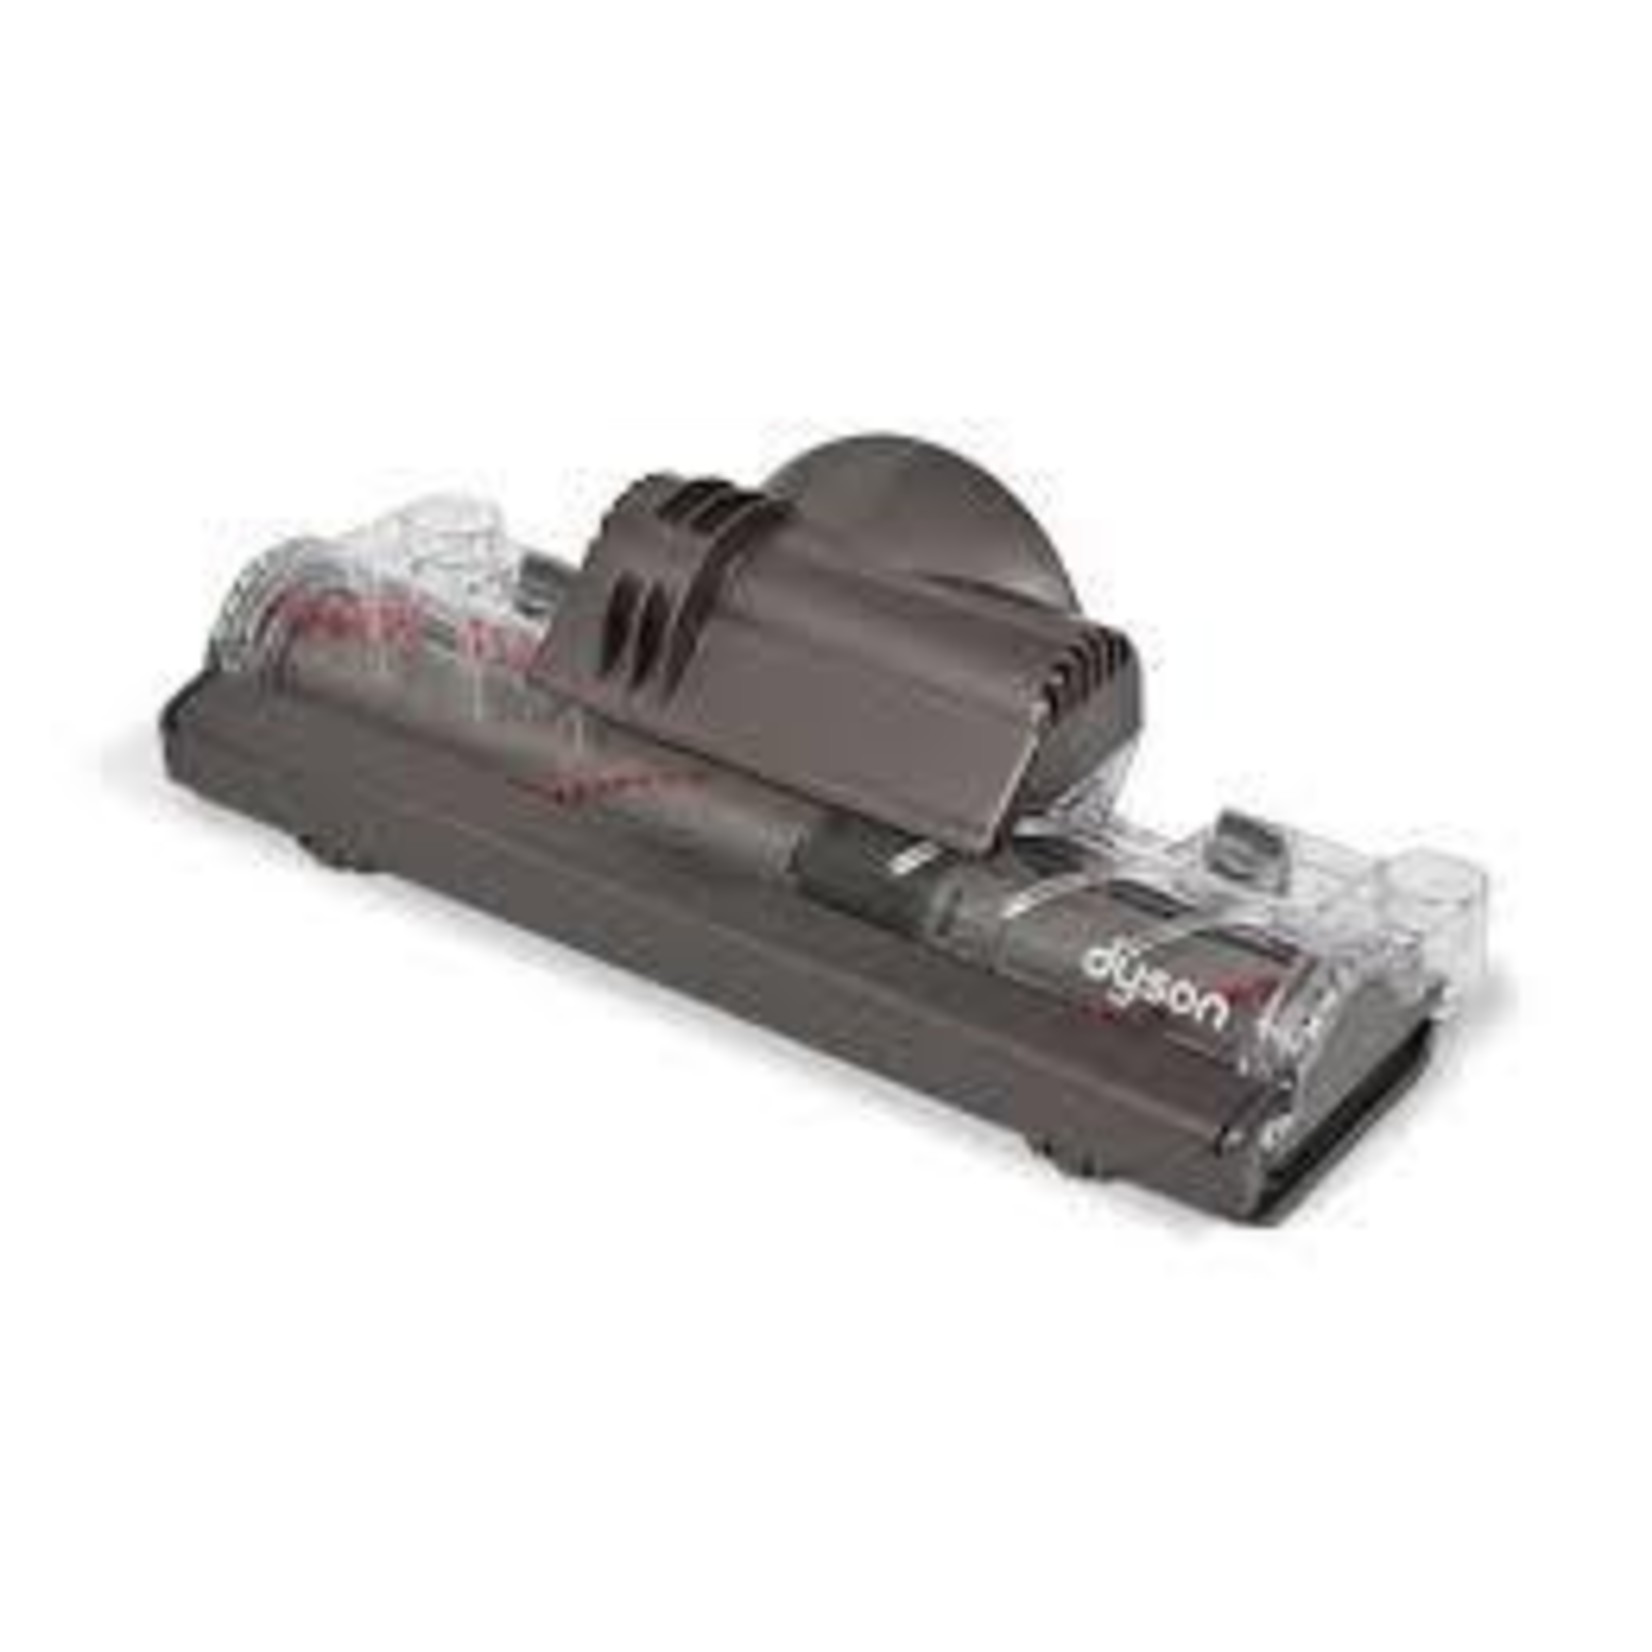
- Dyson Parts & Accessories
- Hoover Parts & Accessories
- Lindhaus Parts & Accessories
- Riccar Parts & Accessories
- Sanitaire Parts & Accessories
- Simplicity Parts & Accessories
- Steam Cleaner & Extractor Parts & Accessories
- Generic Parts & Accessories
- Electrolux Parts & Accessories
- Eureka Parts & Accessories
- Kirby Parts & Accessories
- Bissell Parts & Accessories
- Royal Parts & Accessories
- Filter Queen Vacuum Parts & Accessories
- Oreck Parts & Accessories
- Panasonic Parts & Accessories
- ProTeam
- Misc.
- Shark
- Shop-Vac
- Vacuum Bags, Belts & Filters
- Vacuum Parts & Supplies
- Cleaning Supplies
- Home & Specialty
- Central Vacuum & Home Cleaning Tips
- Brands